• Skip to primary navigation
  • Skip to main content
  • Skip to primary sidebar

South End Style

Exploring all things travel and interiors

  • Home
  • About Me
  • Blog
  • Travel
  • Design
  • Gift Guides
  • Guest Post
April 16, 2018

4 Tips for Creating a Gallery Wall

Art, Design Plan

Who doesn’t love a good gallery wall? They may seem like they have been trendy for quite some time; however, gallery walls are pretty classic. From the art gallery style (all in a row) to the Fixer Upper inspired style (mixed frames and pieces), it’s safe to say that gallery walls are here to stay. Clients often tell me that they feel intimidated by the thought of creating their own gallery wall because they worry that it won’t be “perfect”. The best part is, they don’t have to be! Let me show you some inspirational photos and share my top 5 tips for creating a gallery wall.

    The new gallery wall I just installed in our bedroom (art above the bed to be replaced by a white juju hat)      

#1 Keep it Cohesive

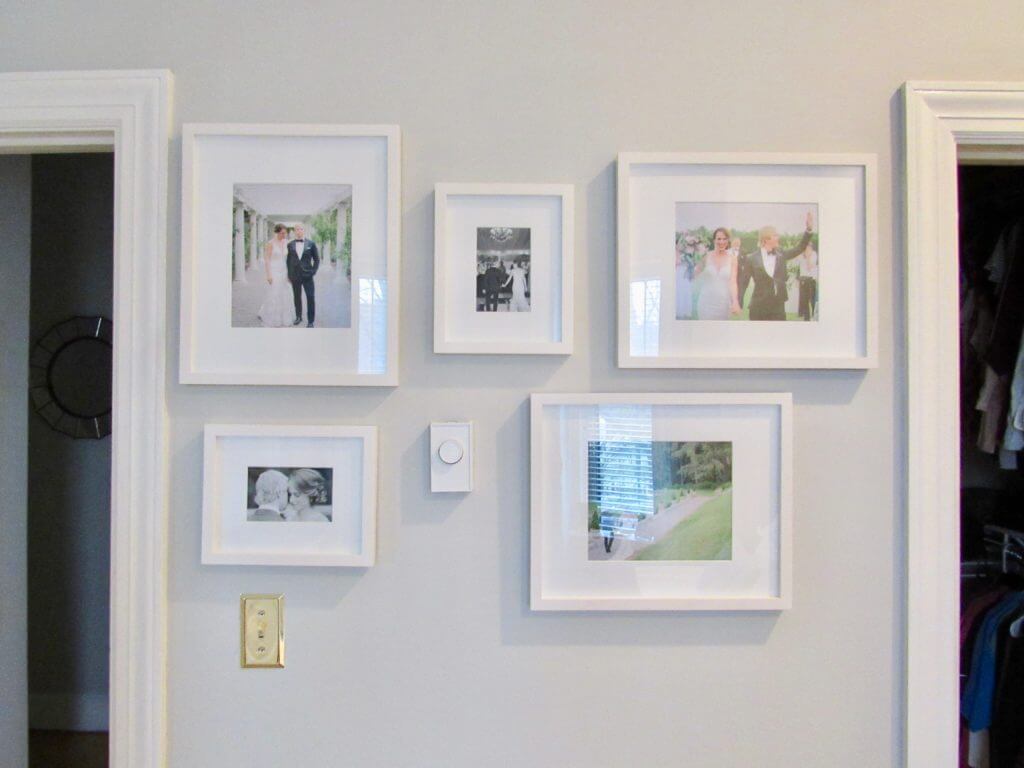
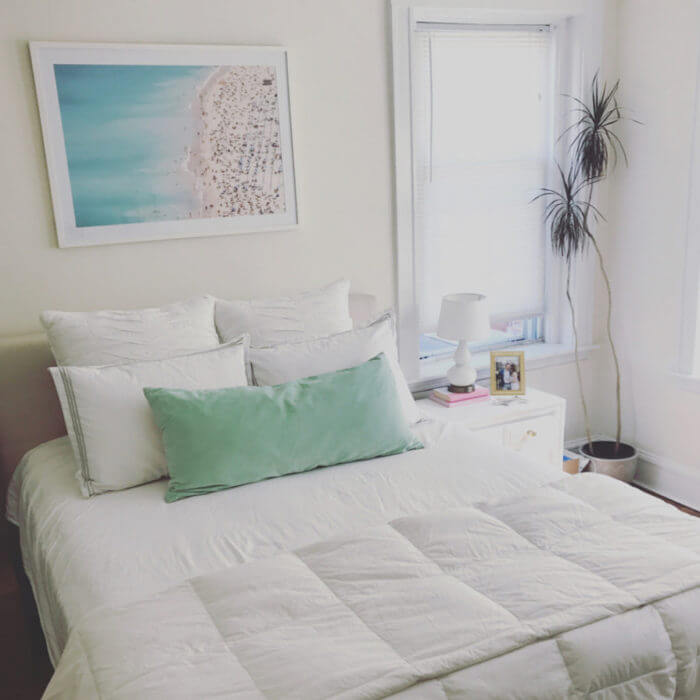
In order to create a cohesive look, you want to have a plan. An easy way to do this is to either use the same color frames (example: these all white Ikea Ribba frames), use the same style frames (all shabby chic) or use all black and white photos. My personal preference is to also be consistent with the using a mat inside the frame. I think that pictures look much more professional and higher end when using a mat. Cohesiveness is key!

#2 Make a Plan

I like to either start by thinking, “what pictures do I want to display?” or “what type of frames fit this space?”. Once you decide what style which direction you’re going, it’s time to get a plan. I recommend that you browse Pinterest and decide how you want the frames displayed: a row of 6, a square pattern (ex. 3 X 3 X 3) or a random pattern. If you’re unsure of the size frames to use consider buying a pre-created pack like these white frames from Pottery Barn or these black frames from Crate & Barrel.

#3 Take Your Time

This is key. Last weekend when I installed 5 frames into a small gallery wall in our bedroom, I spent a few hours creating the space. Make sure that you measure, re-measure, and measure again. I prefer hanging from the center out or the top down (it’s easier to get things even this way). Also, I highly recommend that you grab a roll of painters’ tape and “draw out” the pattern on the wall. This really helps visualize the gallery prior to nailing multiple holes in the wall.

#4 Hang Frames Properly

By this I mean that you should take the extra time (remember tip #3?) to hang the frames properly. That may mean a few extra steps of cutting wire or measuring distance between hooks, but if you just slap a nail in the wall and set a frame on it, you’re ruining the integrity of the frame and it will likely bow out. I prefer buying smaller frames with 1 hook in the top center and larger ones with a wire. They seem to level off better that way and sit flush against the wall.

I hope you leave here today feeling inspired and informed. Gallery walls should be fun so sort through some pictures, grab your painters tape and level and have fun!

Here are a few more inspirational pictures for you:

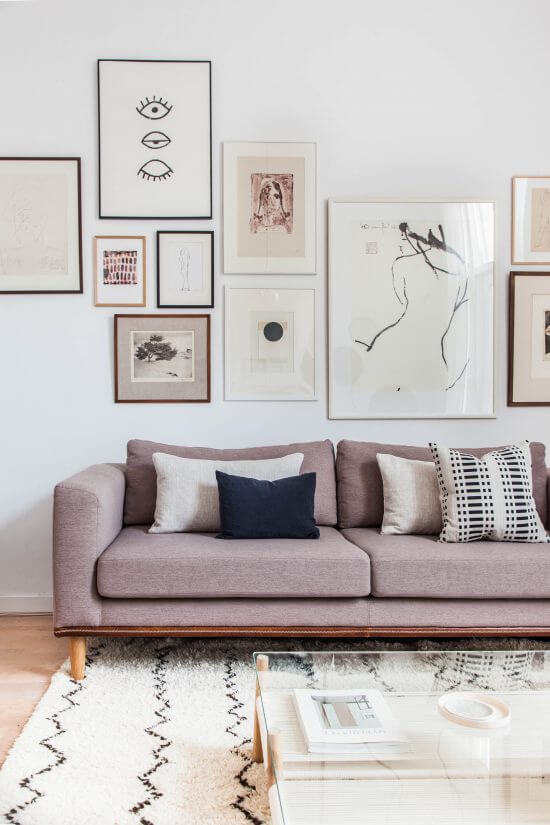
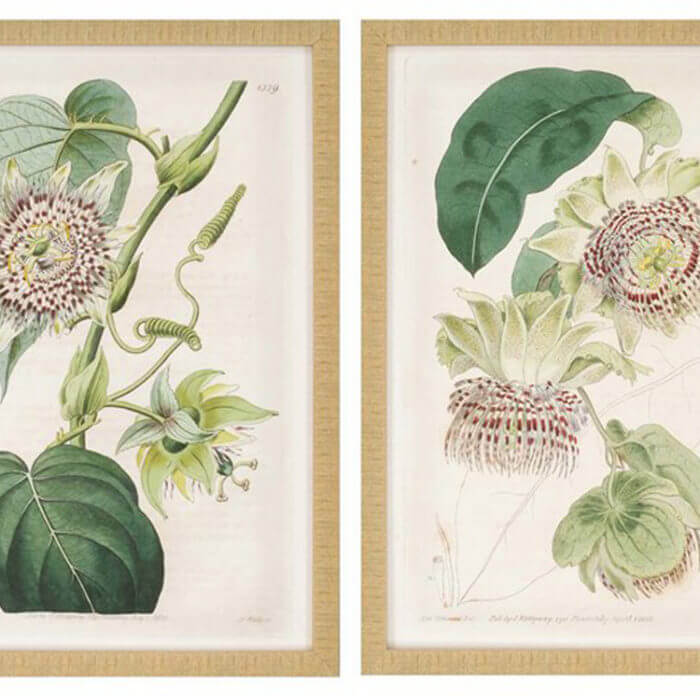
Different, yet cohesive frames with muted prints via Avenue Lifestyle.

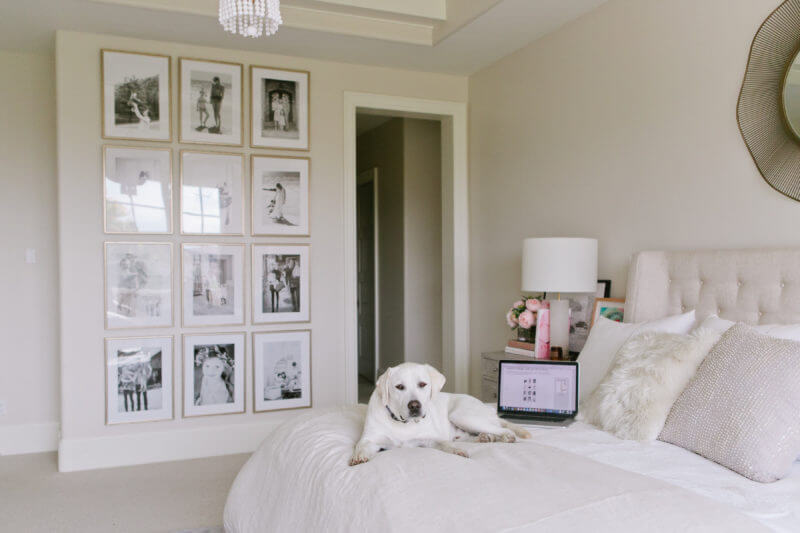
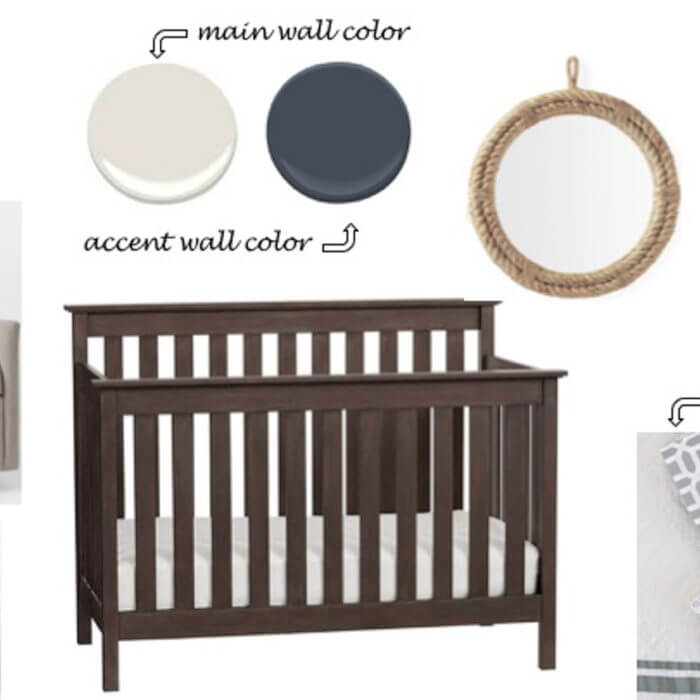
Beautiful gallery wall via Ivory Lane.

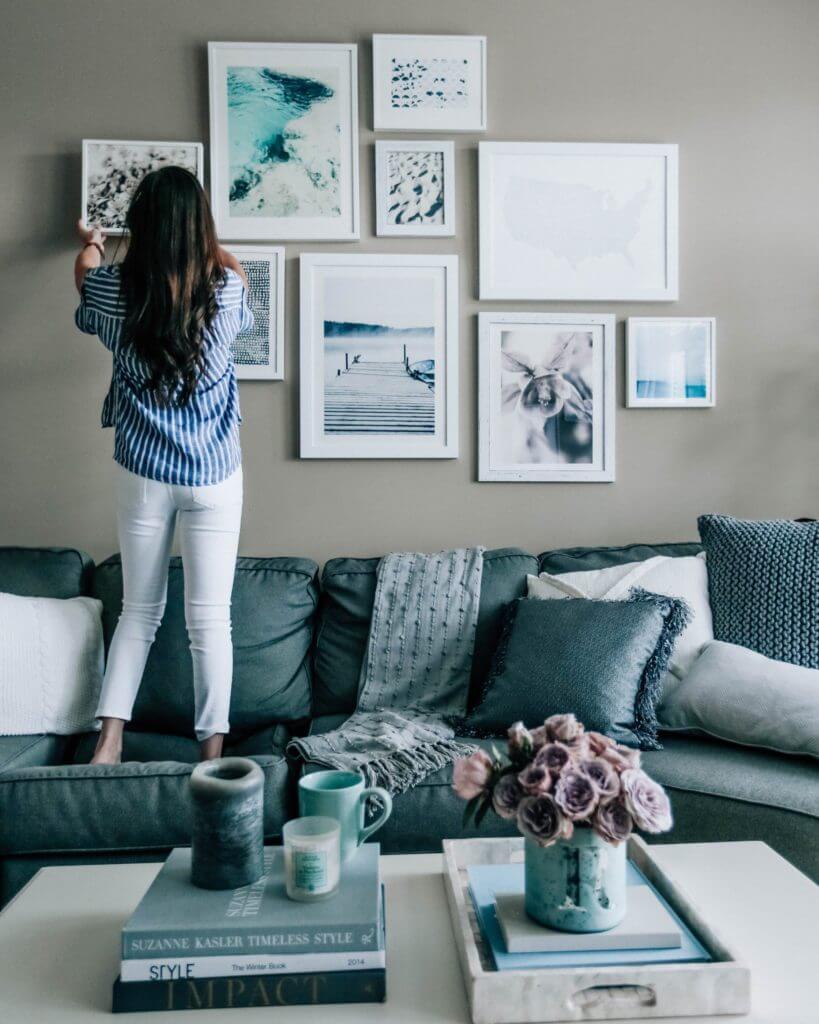
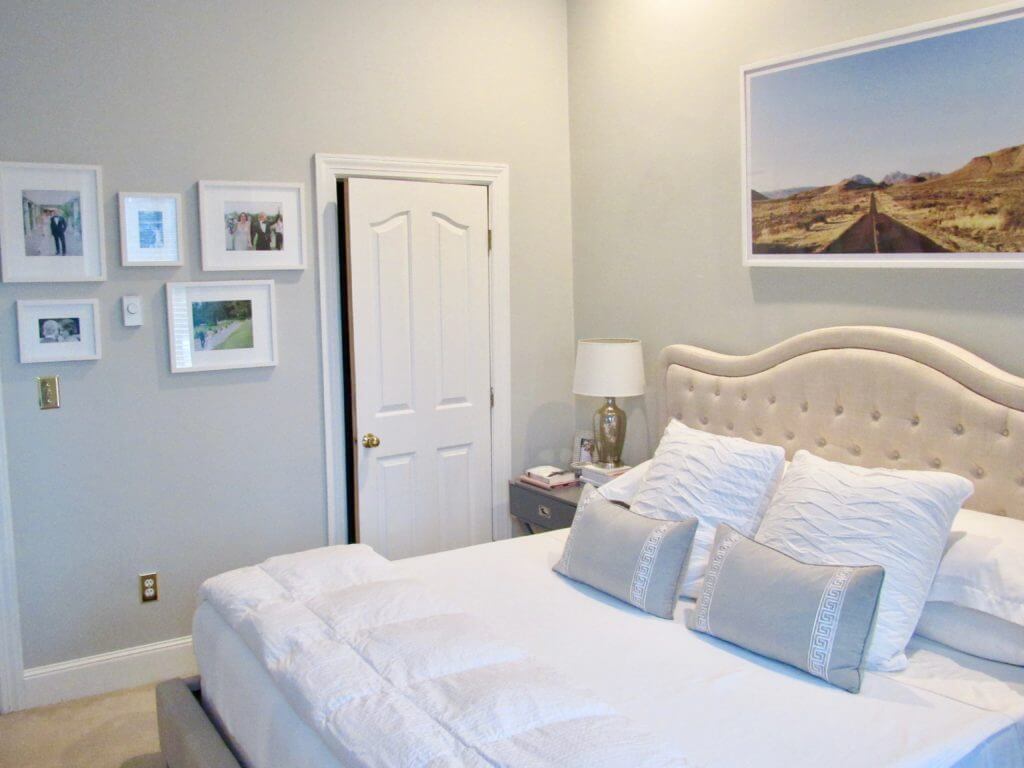
All white frames with blue hue photos via Pretty in the Pines.

You might also like

  • Baby Boy Nursery

  • Guest Bedroom Design Plan + Reveal

  • Pair of Prints

WANT MORE DESIGN AND TRAVEL TIPS?

Subscribe to receive my newsletter

Reader Interactions

Trackbacks

  1. Life Lately, Vol. 46 – South End Style says:
    April 19, 2018 at 6:04 am

    […] 4 Tips for Creating a Gallery Wall […]

    Reply

Leave a Reply Cancel reply

Your email address will not be published. Required fields are marked *

Recipe Rating


Primary Sidebar

Hi! My name is Alexis and I am the author of South End Style. I first started this blog as a way to document my move to Boston but it has evolved over the years to truly encompasses my two passions – interior design and travel! The people I’ve met, the places I’ve traveled and the spaces I’ve designed are all a result of this blog and its followers. So I want thank you for stopping by and spending your time here. I hope you leave inspired!

Recent Posts

  • 3 Months with Duke
  • Weekend Likes + Links
  • Our Most Used Newborn Items
  • Weekend Likes + Links
  • Duke’s Baptism Celebration

Categories

  • Collaborations (70)
    • Gift Guides (33)
    • Sponsored (38)
  • Health (32)
    • Beauty (6)
    • Fitness (5)
    • Recipes (15)
    • Skin Care (7)
  • Interior Design (304)
    • Art (11)
    • Bathroom (17)
    • Bedroom (39)
    • Bookshelves (4)
    • Design Plan (58)
    • design portfolio (30)
    • Dining Room (8)
    • E-design (31)
    • Kitchen (17)
    • Laundry room (3)
    • Living Space (47)
    • Nursery (8)
    • Office (12)
    • Outdoor Space (18)
    • Renovation (1)
    • Styling (33)
  • Life (412)
    • Engagement (12)
    • Family (9)
    • Fashion (14)
    • Friends (5)
    • Holidays (64)
    • Hosting (18)
    • Marriage (4)
    • Motherhood (4)
    • Pregnancy (13)
    • The Happiness Project (7)
    • Weddings (19)
  • Shop (22)
    • Home Products (18)
    • Travel Products (3)
  • Travel (177)
    • Africa (21)
    • Amsterdam (1)
    • Arizona (3)
    • Bali (11)
    • Beach (13)
    • Boston (15)
    • California (8)
    • Canada (1)
    • Cape Cod (2)
    • Caribbean (9)
    • Copenhagen (5)
    • Essex (1)
    • Europe (18)
    • Franschhoek (1)
    • Germany (1)
    • Gloucester (1)
    • Grand Canyon (1)
    • Greece (1)
    • Hong Kong (1)
    • Iceland (6)
    • Ireland (9)
    • Italy (5)
    • Jackson (2)
    • London (4)
    • New York (4)
    • Paris (3)
    • South Africa (11)
    • Switzerland (3)
    • Tanzania (6)
    • Texas (1)
    • Tips (40)
    • Travel Guide (118)
    • Vacation (120)
    • Vermont (2)
  • Uncategorized (9)

Archives

  • Home
  • Guest Post

South End Style © 2025